This guide will walk you through the steps to setup your IMAP email account on an Android phone or tablet. The exact steps may vary slightly depending on the manufacturer and model of your device, but the information which must be entered remains the same.
1. Launch the Settings app on your device
2. Once it launches, select the Accounts option and then select Add Account 3. Select Email as the Account Type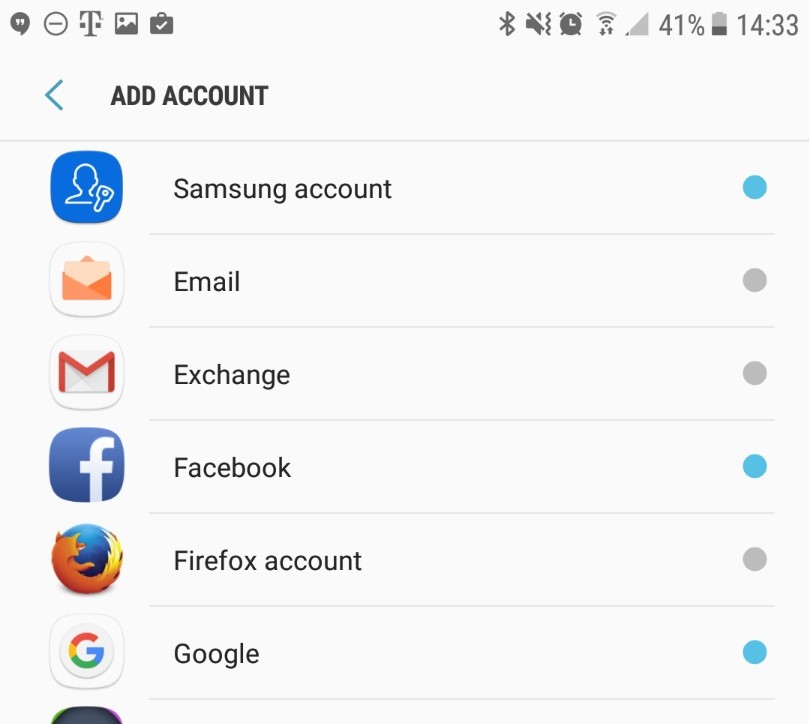
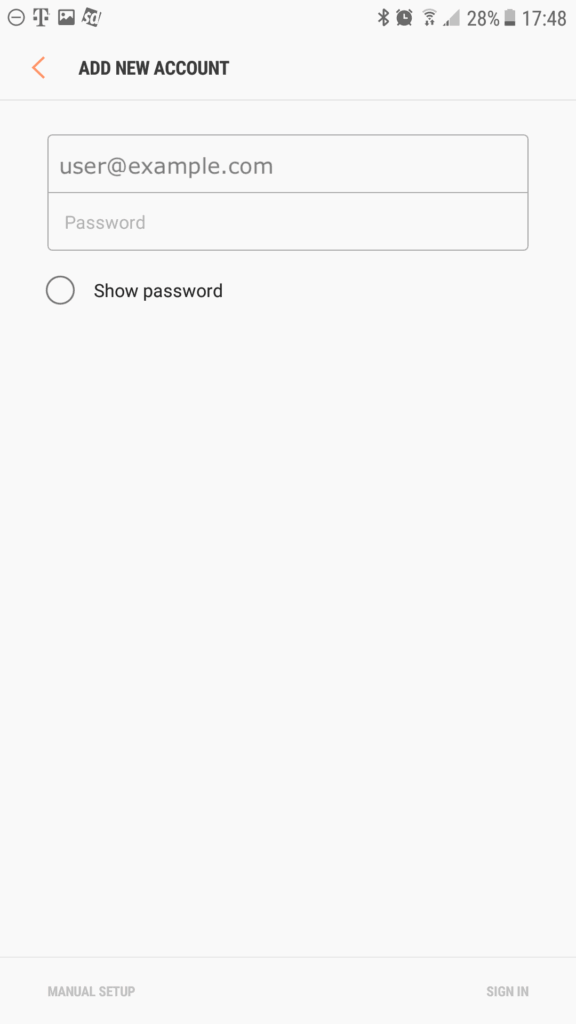
- Email — Enter your email address
- Password — Enter your account password
and then select Sign In
5. When it asks you to Select account type select IMAP account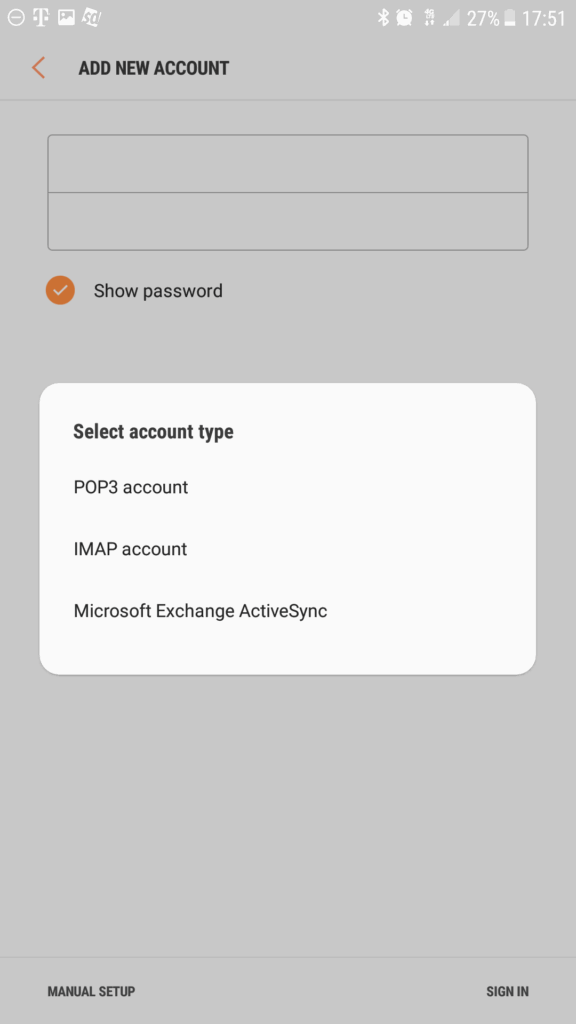
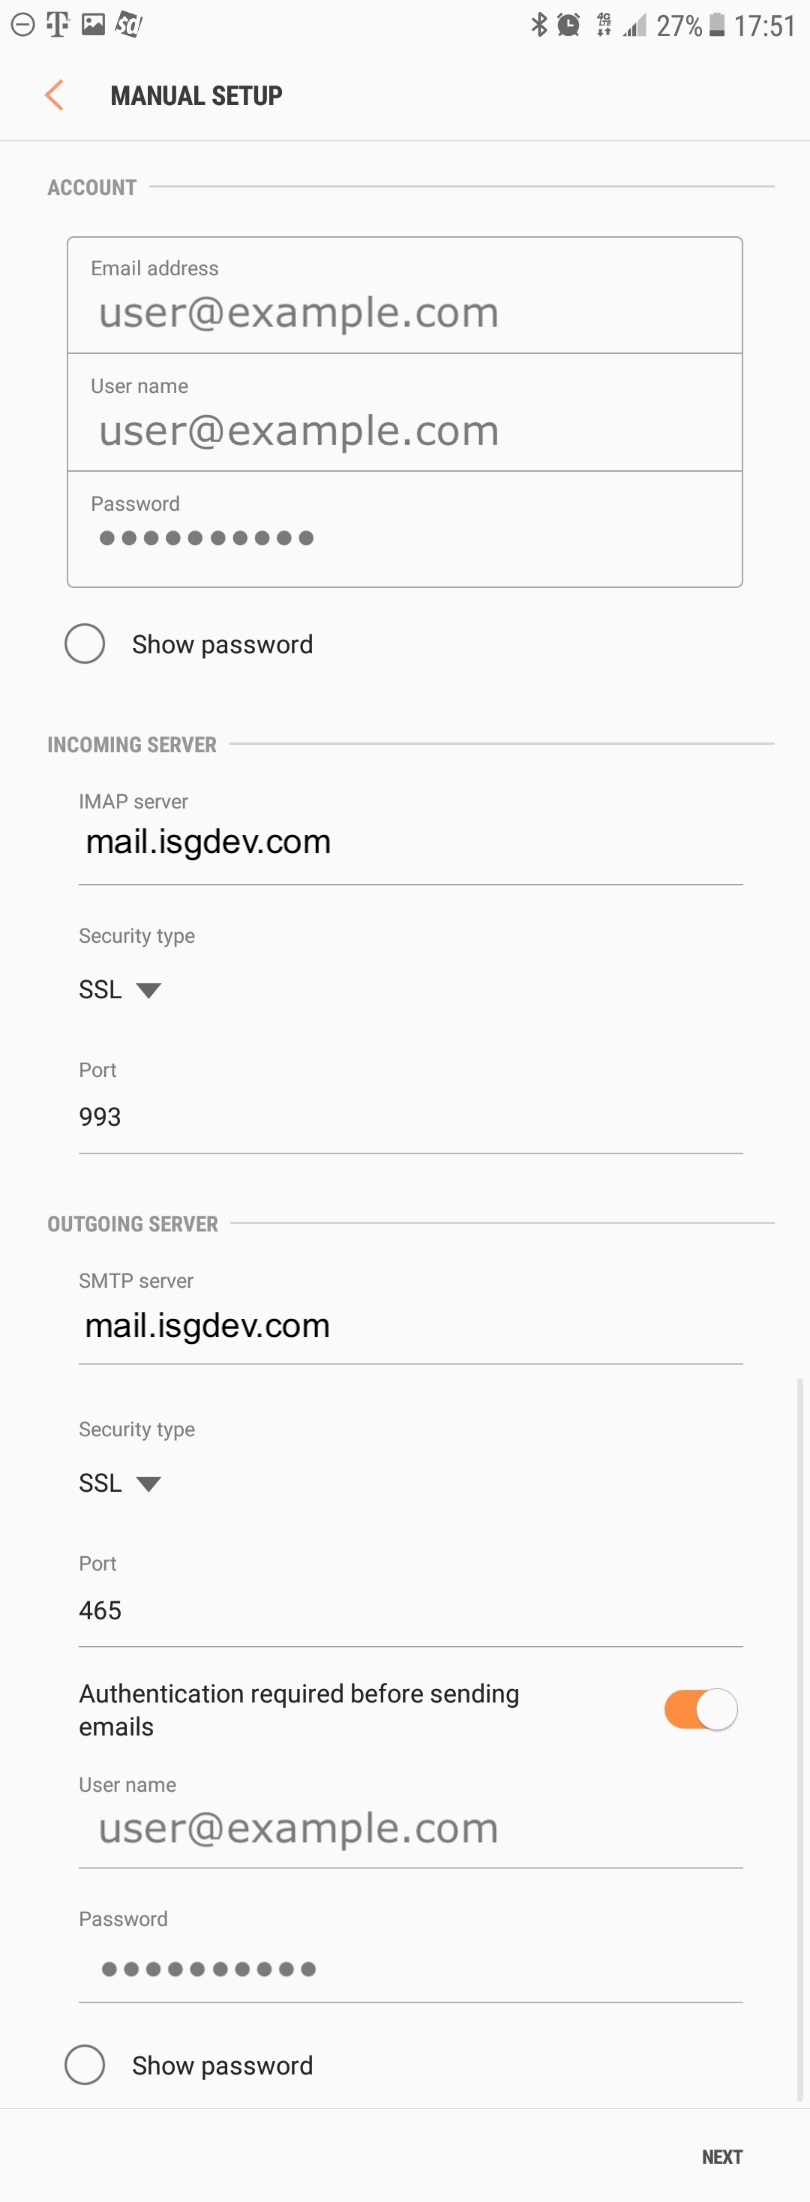
- Email address — Should already be set from previous step
- User name — Enter your email address
- Password — You may need to re-enter your password
- INCOMING SERVER section:
- IMAP server — Must be set to mail.isgdev.com
- Security type — Must be set to SSL
- Port — Set to 993
- OUTGOING SERVER section:
- SMTP server — Must be set to mail.isgdev.com
- Security type and Port (recommended) — STARTTLS and port 587
- Security type and Port (alternate) — SSL and port 465
- Authentication required before sending emails — Must be enabled
- User name — Re-enter your email address
- Password — Re-enter your password
Once this information is entered you should press the Next button
7. Complete the remaining steps, adjusting any preferences as needeed and selecting the Next button to continue.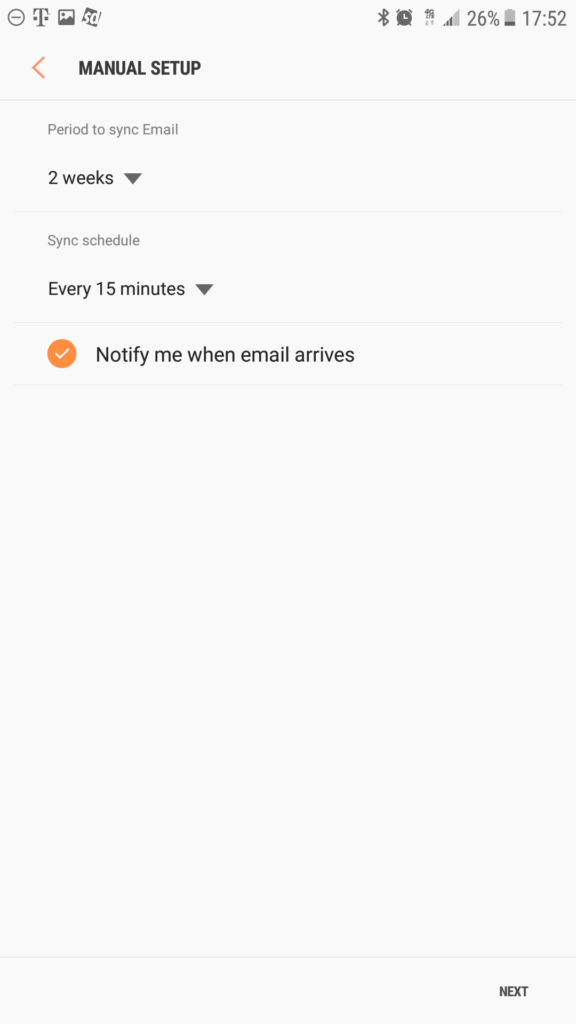
On this page, you should adjust these settings before pressing Done:
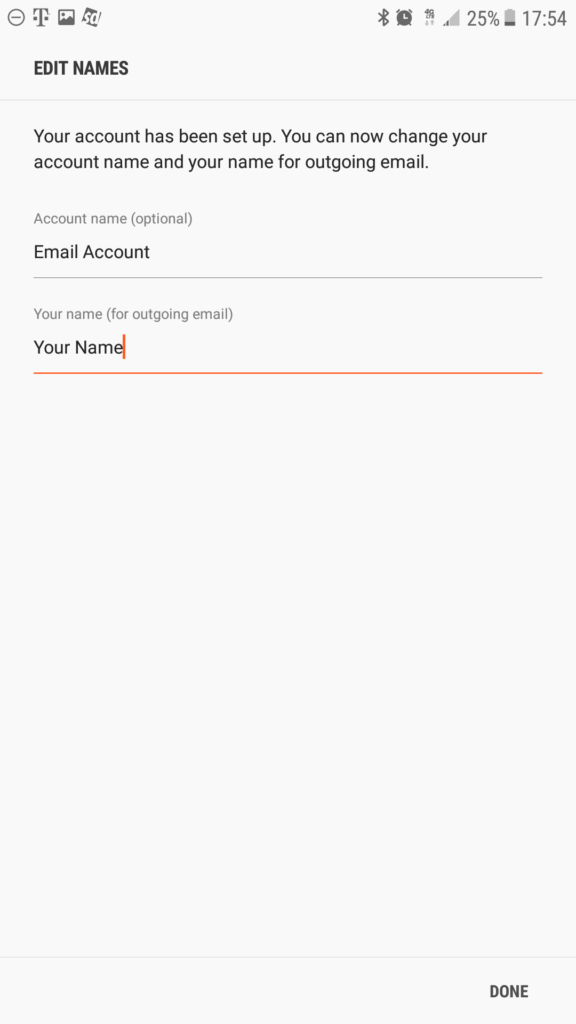
- Account name (optional) — Enter a description so you can identify this account if you have more than one
- Your name (for outgoing email) — Set to your first and last name